Do you find yourself frustrated with a bathroom sink stopper that just won’t budge? Whether you’re dealing with a stubborn clog or simply want to clean your drain, removing the sink stopper is often the first step. Don’t worry; it’s easier than you think! In this comprehensive guide, we’ll walk you through the process step by step, making it quick and hassle-free.
Understanding Your Bathroom Sink Stopper
Before we delve into the removal process, let’s take a moment to understand the basic components of your bathroom sink stopper. There are various types, including lift-and-turn, push-and-pull, and pop-up stoppers. For this guide, we’ll focus on the common type controlled by a horizontal pivot rod and clevis strap.
Step-by-Step Guide to Removing Your Sink Stopper
Follow these simple steps to remove your bathroom sink stopper quickly and efficiently:
Clear Items From Under the Sink
Begin by clearing out any items stored under your sink. 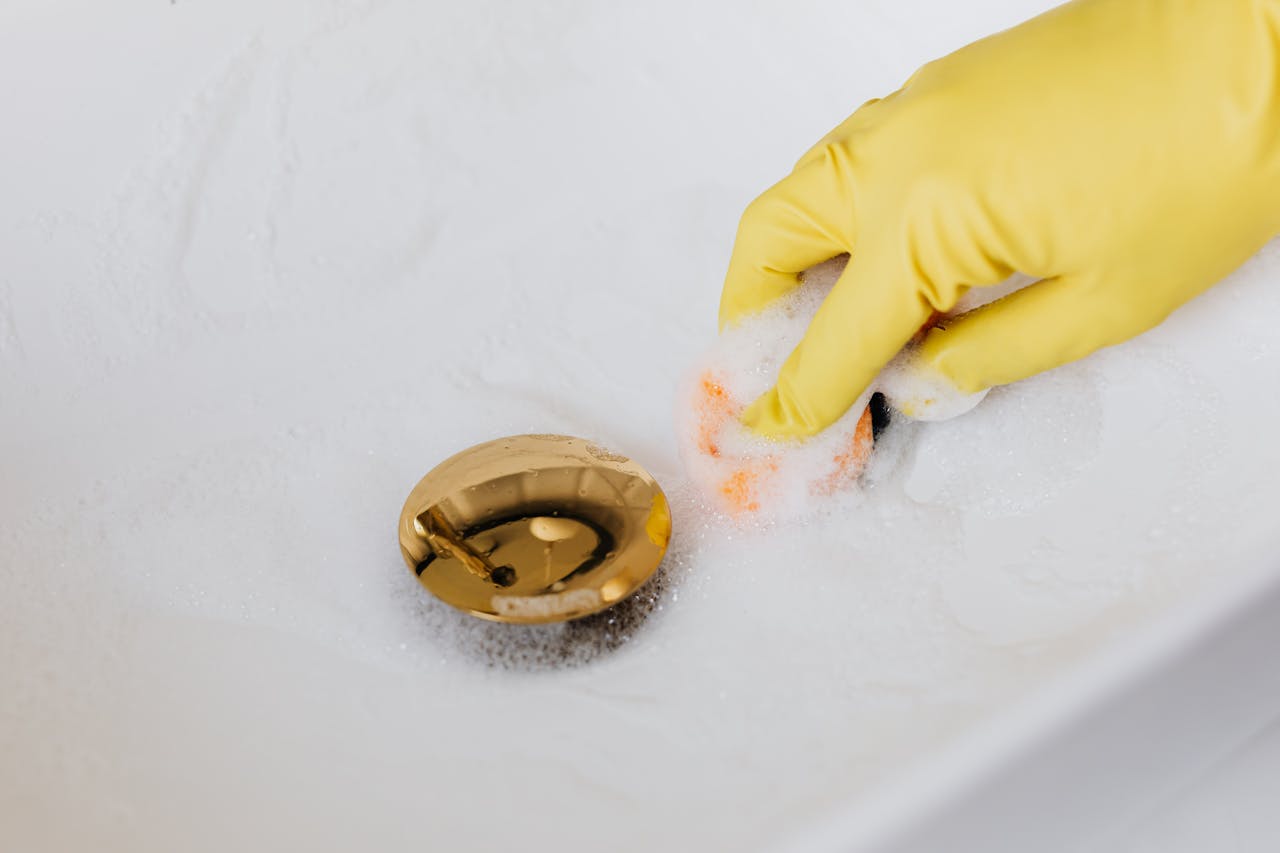 This ensures easy access to the plumbing components and makes the removal process smoother. Remove cleaning supplies, toiletries, or any other items obstructing the area.
Locate the Clevis Strap and Pivot Rod
Identify the small bar behind the sink faucet, controlled by a lift handle. 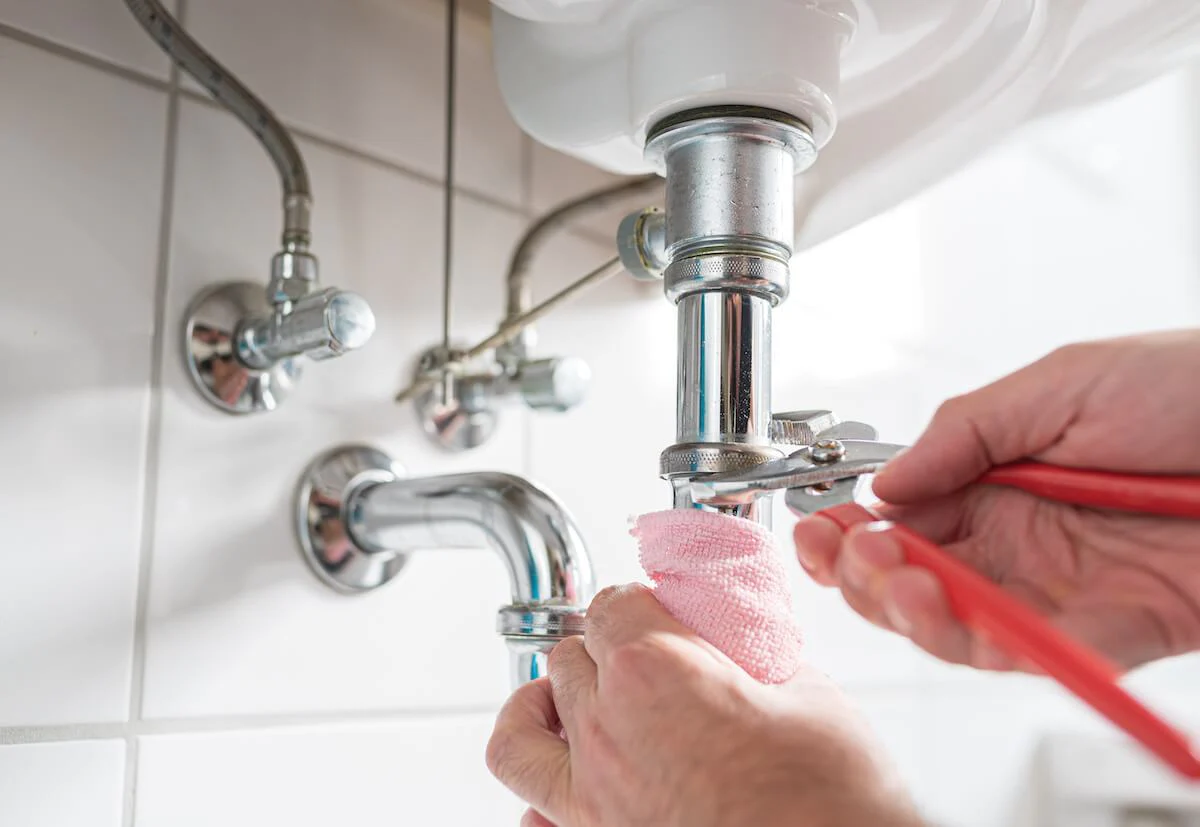 This is the clevis strap, which is connected to the horizontal pivot rod. The pivot rod controls the movement of the sink stopper.
Try to Remove the Stopper by Hand
Attempt to lift the sink stopper out of the drain by hand. Sometimes, it may come out easily with a simple upward pull. If it’s stuck or doesn’t move, proceed to the next step.
Locate the Horizontal Pivot Rod and Metal Clip
Underneath the sink, find the horizontal pivot rod connected to the sink stopper mechanism. Look for the metal clip securing the pivot rod in place. It’s usually located near the back of the sink drain.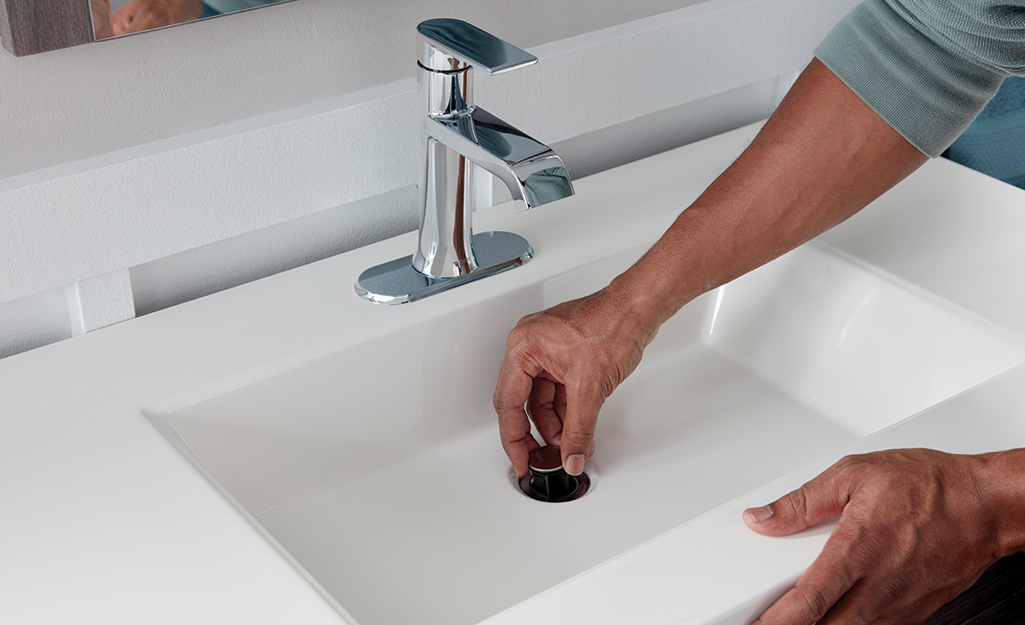
Remove the Metal Clip
 Using your fingers or pliers, carefully remove the metal clip holding the horizontal pivot rod in place. Be gentle to avoid damaging the clip or rod. If the clip is stubborn, gentle wiggling or twisting may help loosen it.
Disconnect the Pivot Rod
Once the metal clip is off, disconnect the horizontal pivot rod from the clevis strap. Slide the rod out of the clevis strap carefully to prevent bending or damage. Set the pivot rod aside in a safe spot.
Remove the Sink Stopper
With the pivot rod removed, you can now easily lift the sink stopper out of the drain. 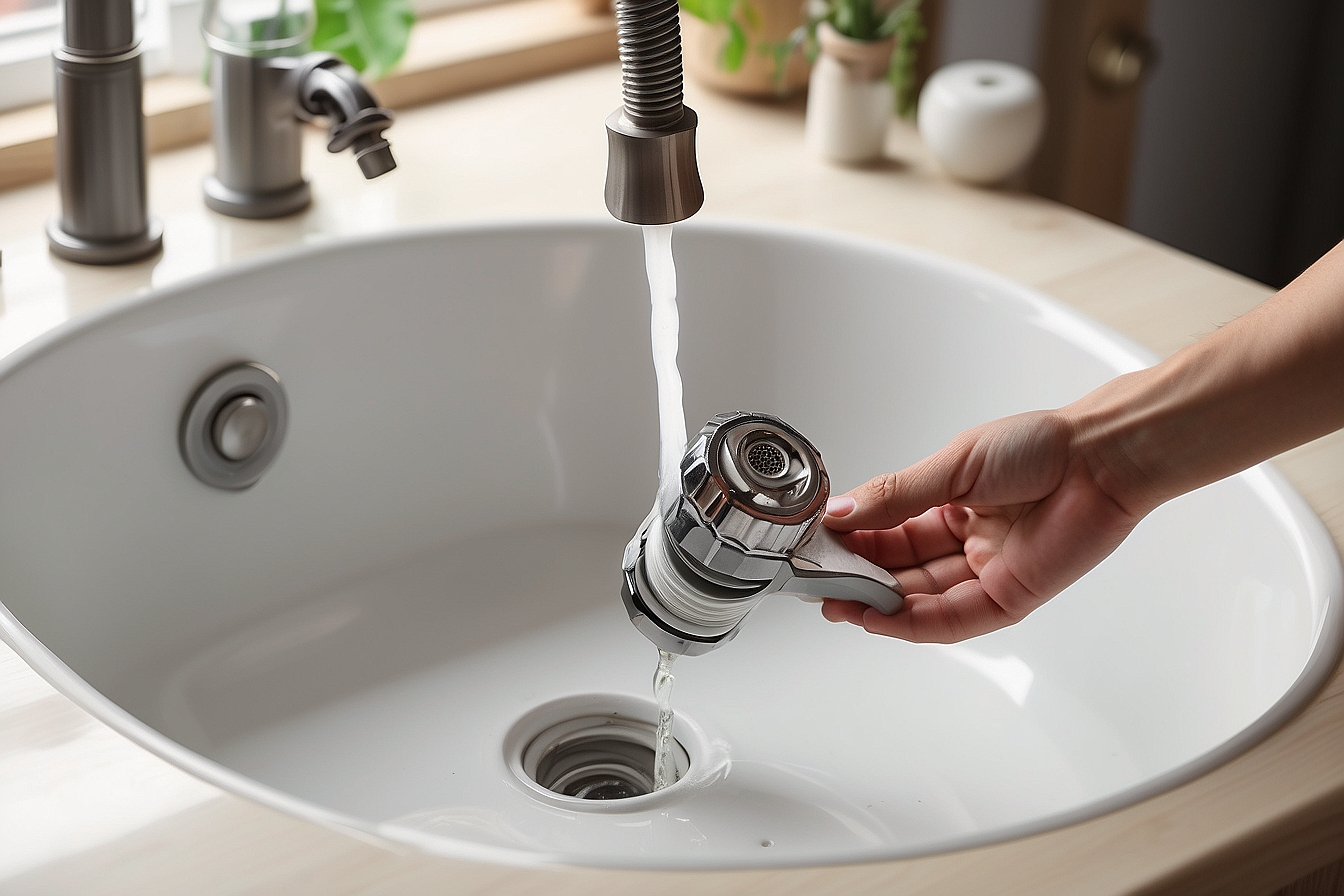 Hold the stopper firmly and lift it straight up to prevent water or debris splashing. The stopper should come out smoothly.
Components of a Sink Stopper:
Clevis Strap: Located behind the sink faucet, it controls the stopper.
Horizontal Pivot Rod: Connects the clevis strap to the sink stopper mechanism.
Metal Clip: Secures the horizontal pivot rod in place.
Comparing Different Types of Sink Stoppers
Here’s a comparison table to help you understand the differences between various types of bathroom sink stoppers:
| Sink Stopper Type | Control Mechanism | Ease of Removal | Common Issues |
|---|---|---|---|
| Lift-and-Turn | Vertical rod | Moderate | Corrosion, debris buildup |
| Push-and-Pull | Horizontal rod | Easy | Sticking, seal deterioration |
| Pop-up | Push button | Moderate | Seal wear, linkage problems |
Understanding these differences can help you choose the most suitable removal method for your specific sink stopper type.
FAQs About Removing Bathroom Sink Stoppers
Q: Can I use tools to remove the sink stopper?
A: In most cases, you can remove the stopper by hand without tools. However, if it’s stuck, pliers may help remove the metal clip securing the pivot rod.
Q: What if the stopper remains stuck after removing the pivot rod?
A: Try using lubricant like WD-40 to loosen debris around the stopper. A plunger can create suction to dislodge it.
Q: How often should I remove and clean my sink stopper?
A: It’s advisable to clean your sink stopper every few months to prevent clogs caused by hair, soap scum, and debris buildup.
Conclusion
Removing your bathroom sink stopper is a straightforward task when you follow these steps. With a little patience and care, you can quickly access your drain for cleaning or maintenance purposes. Remember to handle the components gently to avoid damage. Once the stopper is removed, enjoy improved drainage and functionality in your sink!
